プラグイン「WP Post Branches」について、詳しくはこちら>>
http://pulpfingers-com.check-xserver.jp/2412
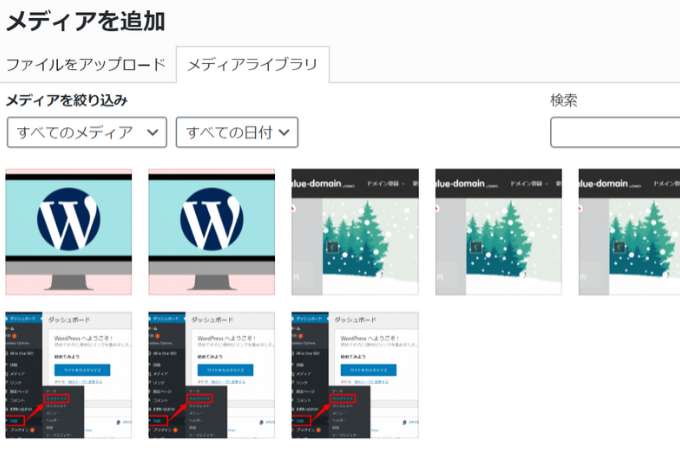
「WP Post Branches」は、公開済みの記事を編集して下書き保存できる便利なプラグインですが、その過程で画像が複製されてしまいます。

これを防ぐためには、プラグインを編集します。
編集前に、かならずプラグインのバックアップを取っておいてください。
コンテンツ
【準備】プラグインを使用停止する
WordPressでは使用中のプラグインの編集は非推奨のため、プラグインを使用停止しておきます。
管理画面のサイドメニューから「プラグイン」を選択します。

プラグインが一覧で表示されます。

WP Post Branchesの「停止」をクリックします。

「プラグインを停止しました」と表示されたら、プラグインの編集に移ります。

プラグインエディターから編集する
管理画面のサイドメニュー「プラグイン」→「プラグインエディター」を選択します。

プラグイン編集画面が表示されます。右上の「編集するプラグインを選択」を見ていきます。

「編集するプラグインを選択」から「WP Post Branches」を選択→「選択」をクリックします。
プラグインファイルが「wp-post-branches.php」に変わったのを確認してください。

67~107行目の「//attachment」部分をコメントアウトし、機能しないようにします。

【コメントアウト部分の詳細】
コメントアウトしたい部分を/*と*/ではさみます。
/*
//attachment
$args = array( 'post_type' => 'attachment', 'numberposts' => -1, 'post_status' => null, 'post_parent' => $id );
$attachments = get_posts( $args );
if ($attachments) {
    foreach ( $attachments as $attachment ) {
        $new = array(
            'post_author' => $attachment->post_author,
            'post_date' => $attachment->post_date,
            'post_date_gmt' => $attachment->post_date_gmt,
            'post_content' => $attachment->post_content,
            'post_title' => $attachment->post_title,
            'post_excerpt' => $attachment->post_excerpt,
            'post_status' => $attachment->post_status,
            'comment_status' => $attachment->comment_status,
            'ping_status' => $attachment->ping_status,
            'post_password' => $attachment->post_password,
            'post_name' => $attachment->post_name,
            'to_ping' => $attachment->to_ping,
            'pinged' => $attachment->pinged,
            'post_modified' => $attachment->post_modified,
            'post_modified_gmt' => $attachment->post_modified_gmt,
            'post_content_filtered' => $attachment->post_content_filtered,
            'post_parent' => $draft_id,
            'guid' => $attachment->guid,
            'menu_order' => $attachment->menu_order,
            'post_type' => $attachment->post_type,
            'post_mime_type' => $attachment->post_mime_type,
            'comment_count' => $attachment->comment_count
        );
        $new = apply_filters( 'wpbs_pre_publish_to_draft_attachment', $new );
        $attachment_newid = wp_insert_post( $new );
        $keys = get_post_custom_keys( $attachment->ID );

        $custom_field = array();
        foreach ( (array) $keys as $key ) {
            $value = get_post_meta( $attachment->ID, $key, true );

        add_post_meta( $attachment_newid, $key, $value );
        }
    }
}
*/
コメントアウトすると、要素がハイライトされなくなるためコードが茶色になります。
「ファイルを更新」をクリックしてください。

「ファイルの編集に成功しました。」という表示が確認できます。

停止したプラグインを再度有効化して確認する
先ほど停止したプラグイン一覧から有効にします。
WP Post Branches「有効化」をクリックしてください。

「プラグインを有効化しました。」と表示されます。

公開済み記事のブランチを作り、メディア内を確認してみます。

画像が複製されていないことが確認できたら、作業完了です。